
Sampling and lab analysis
Asbestos Testing in Garden City Before You Open Walls
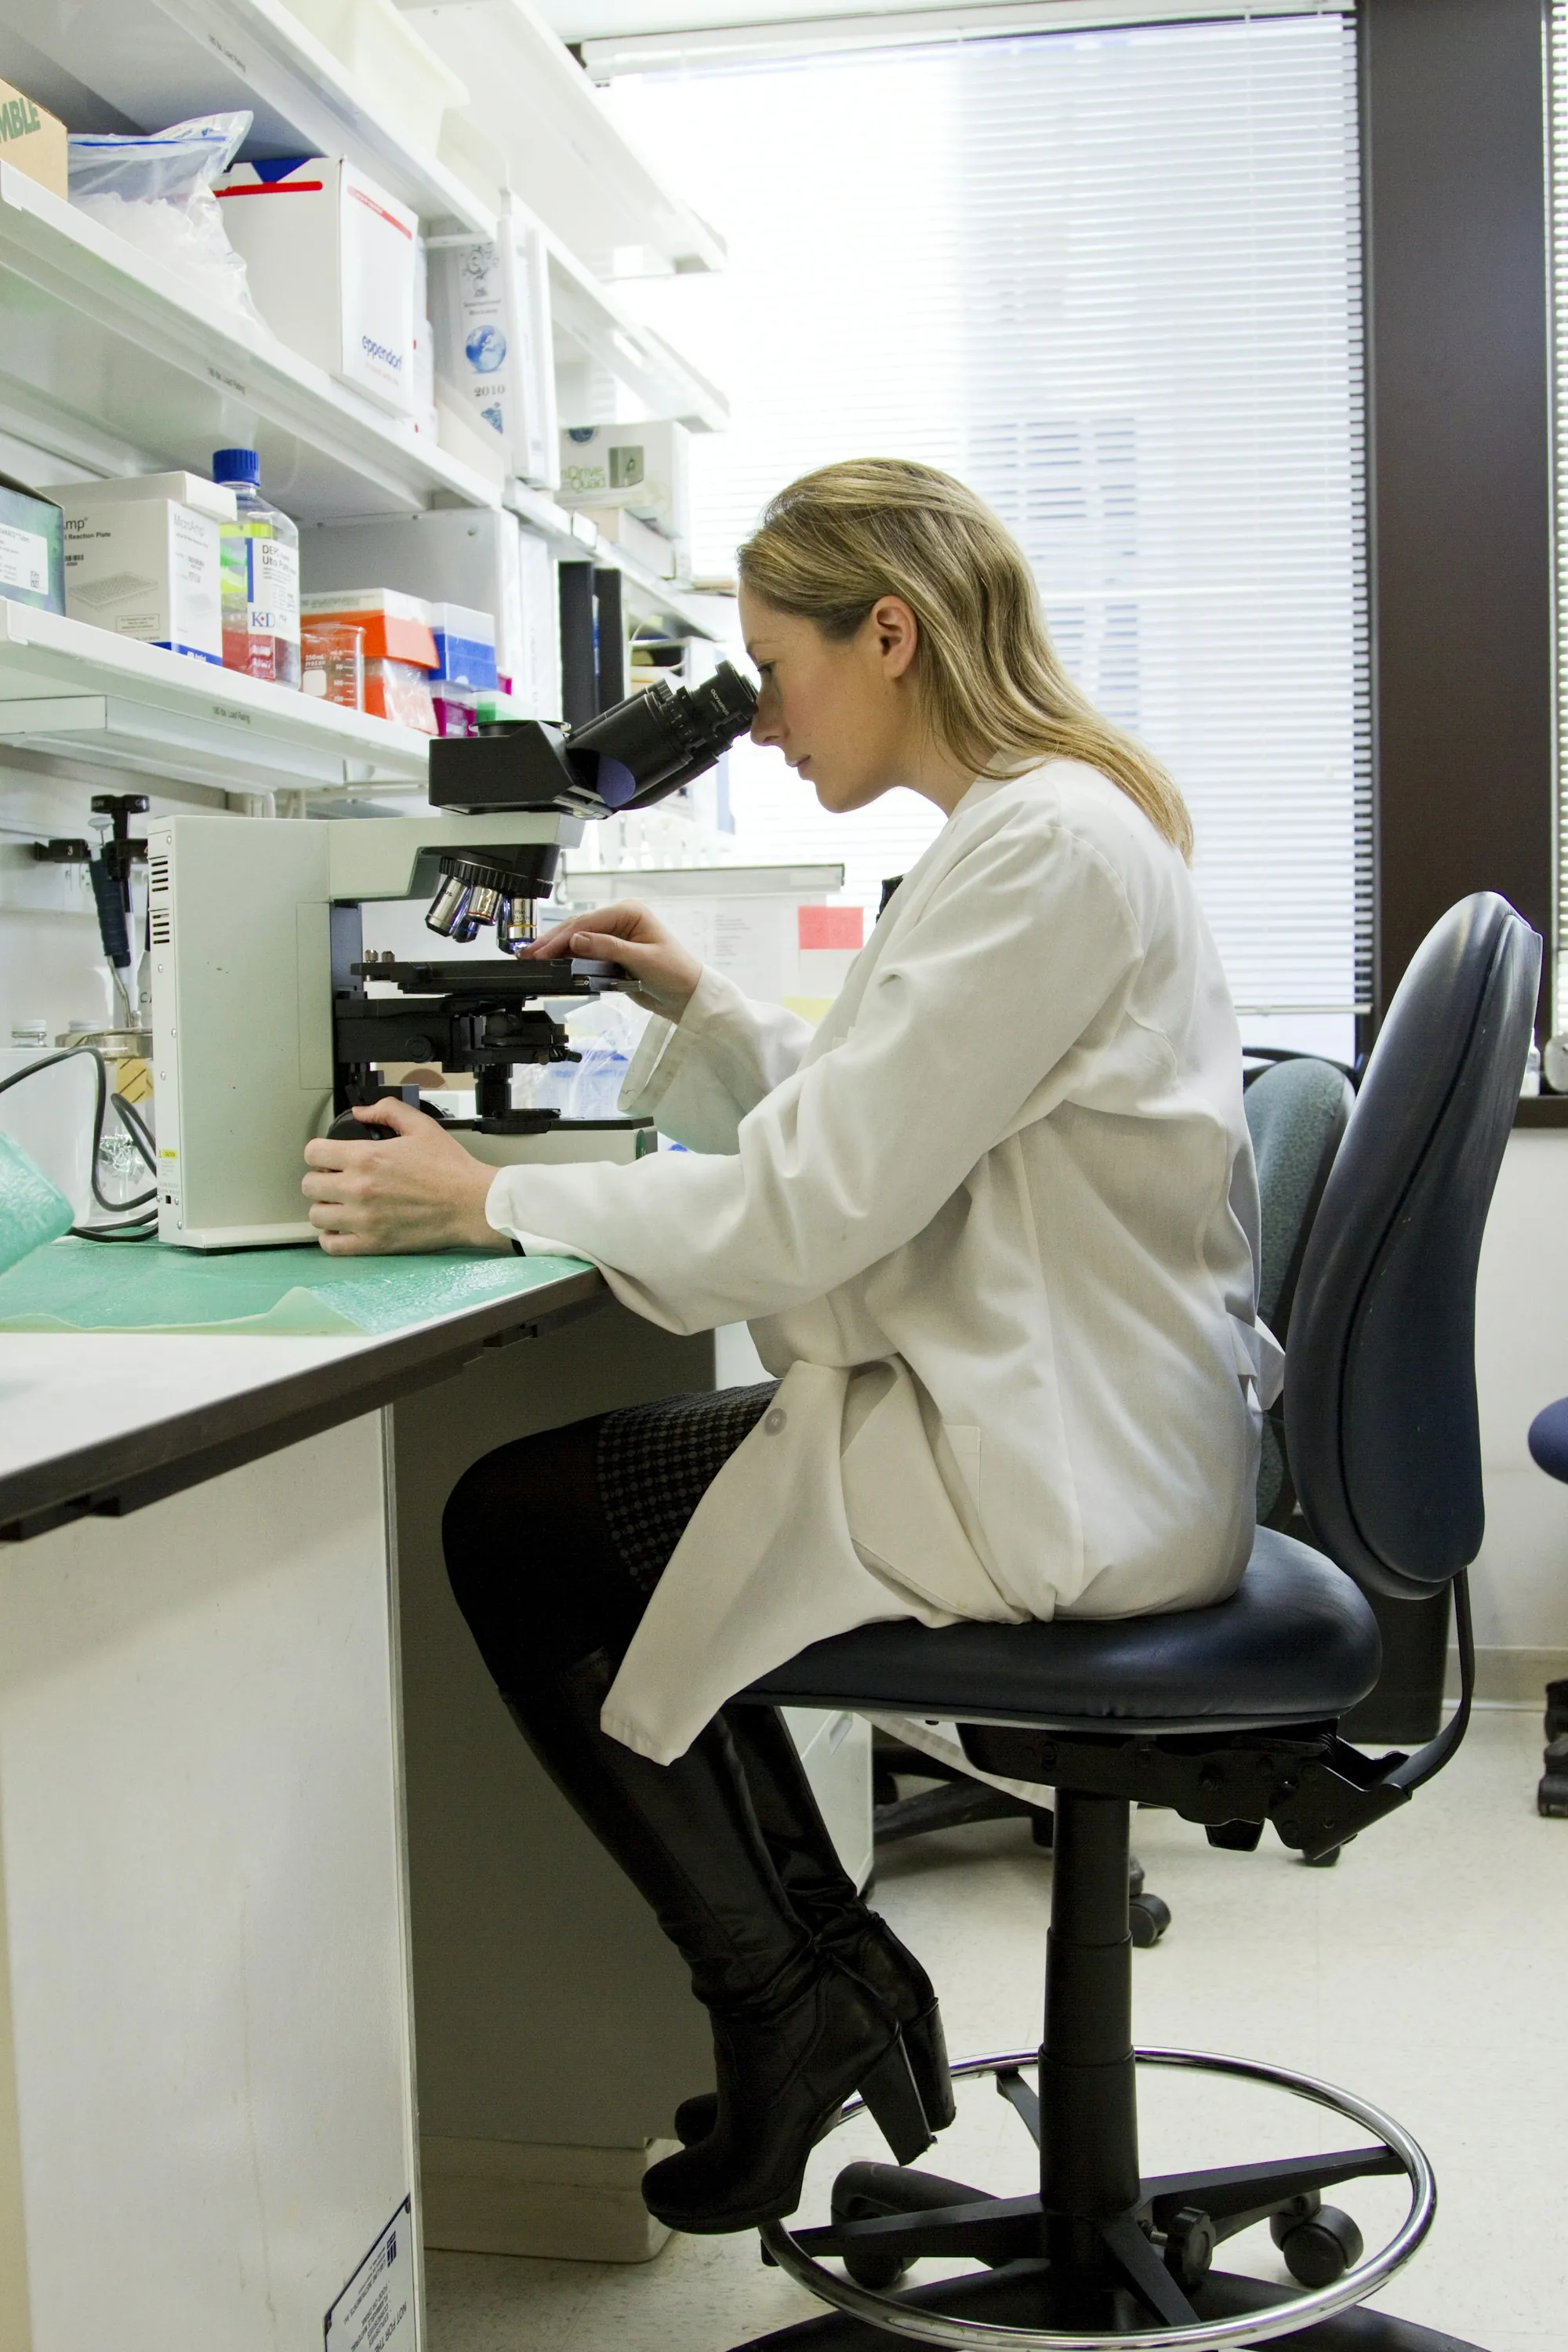
Lab analysis of samples a certified inspector collects puts the decision to remove rests on data, not looks.
Why Test Instead of Assuming?
Can you tell asbestos tile from ordinary vinyl by looking at it? Can a contractor? Nobody can, which is exactly why testing exists. Manufacturers added asbestos to countless products up through the 1970s, with some still made in the 1980s, and the asbestos versions often look identical to the safe ones. Certainty takes a laboratory, an accredited one, looking at a physical sample. Testing with Asbestos Removal Garden City starts with a walk-through of the area you plan to disturb, whether that is a kitchen floor, a basement full of old piping, a ceiling you want smoothed or the siding on a house you are buying. The certified inspector removes a thumbnail-sized piece of every suspect material, wets the spot first to keep dust down, seals each sample in its own labeled container and patches the sample location. An accredited lab then analyzes each piece, and its report names each material and what it contains. That report is the foundation for every decision after it. A negative result means your renovation can go ahead without abatement for that material. A positive result gives you an exact list for the removal scope, so you pay to remove only what actually needs it. For owners in Garden City, Mineola and the surrounding towns, testing first also means a contractor is never left guessing halfway through a demolition.
What Does a Testing Visit Include?
The goal is a report you and your contractor can act on without second-guessing.
Walk-through of the work area
We look at exactly what your project will disturb and identify each suspect material.
Certified sampling
Samples are taken by a certified inspector using wet methods to limit dust.
Individual labeling
Every sample is sealed and labeled with the material and its location.
Sample spots patched
Each small sample location is sealed so it does not keep shedding.
Accredited lab analysis
An accredited laboratory examines each sample and reports what it contains.
Plain-language results
We go over the report with you and explain what each result means for the project.
Removal scope if needed
Positive materials become a precise written scope, with nothing extra added.
Pre-sale and pre-demo use
Results useful for buyers, sellers, renovations and planned demolition.
What Are the Steps to a Result?
Describe the project
Tell us what will be cut, sanded, drilled or torn out. That tells us what to sample and what to skip.
Sample and send
The inspector takes and labels samples on site and sends them to an accredited lab with a chain of custody.
Read the results together
You receive the lab report and a clear explanation. If anything is positive, the removal scope is written from it.
Why Test With Us
Focused on your project
We sample what the work will actually disturb, not every surface in the building.
Results that drive the scope
If removal follows, it covers only the materials the lab confirmed.
Explained, not just emailed
You get the report and an explanation of what it means for your next step.
- Certified sampling
- Accredited lab
- Labeled by location
- Scope from results
Staring at a Tile or Pipe Wrap You Cannot Identify?
Floor tile, pipe wrap, a textured ceiling or old siding: describe it and what you plan to do, and we will tell you whether it should be sampled first.